First-time setup wizard
Once the network configuration and bootstrapping have been successfully completed, the first-time setup wizard GUI becomes available on the configured IP address; open a web browser with the given IP address in a https URL:
https://<aero-ip>/
This will open the first-time setup wizard UI:
Configure hostname
Enter the hostname for this system that will be used to access its GUI through a webbrowser:
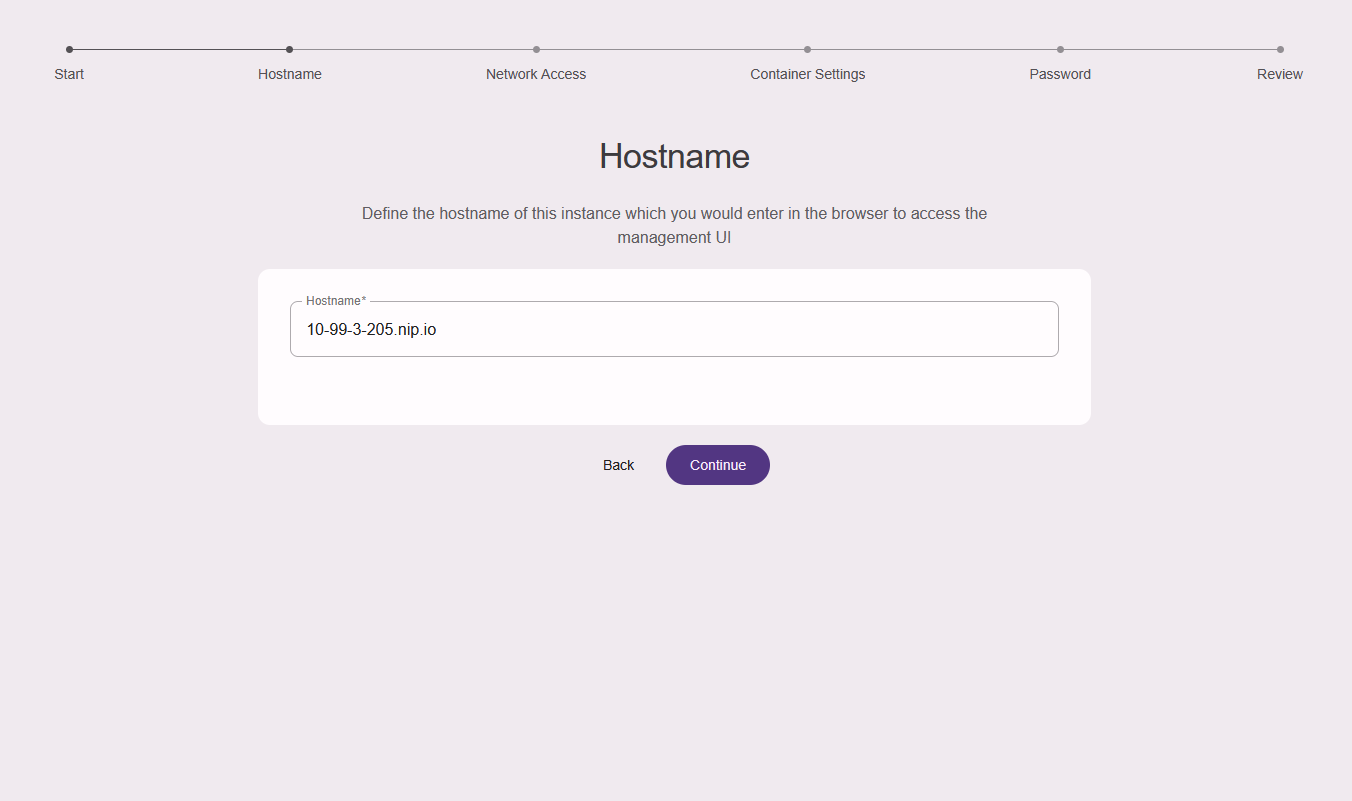
As shown in the example above, you may set a temporary hostname using a dynamic DNS service like "nip.io" for the first-time setup, and then afterwards set the final hostname, once all network interfaces can be configured in the GUI.
Configure Network Access
Configure the network interface used to access the GUI (it is the one in the drop-down list with the same IP address as used to access the wizard):

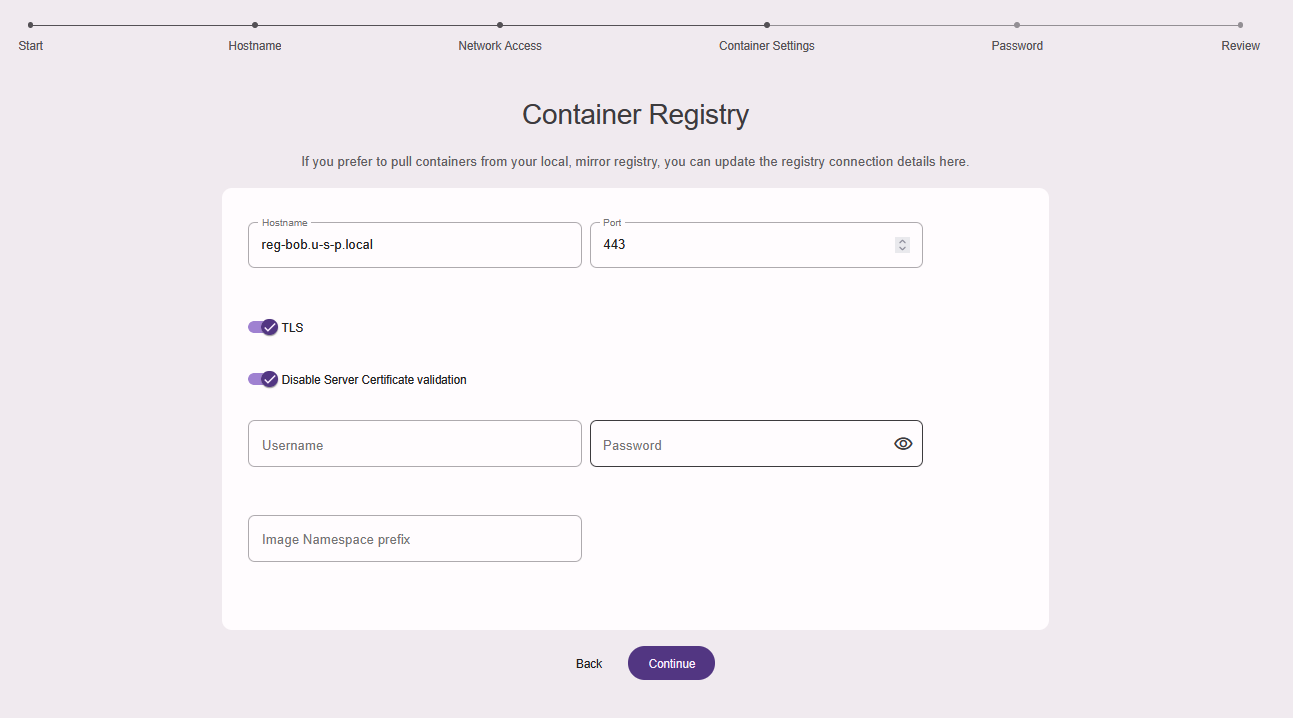
Configure Container Settings
Specify the USP container registry used to bootstrap the Aero components:
Configure Password
You will have to set a password for the "admin" user next:
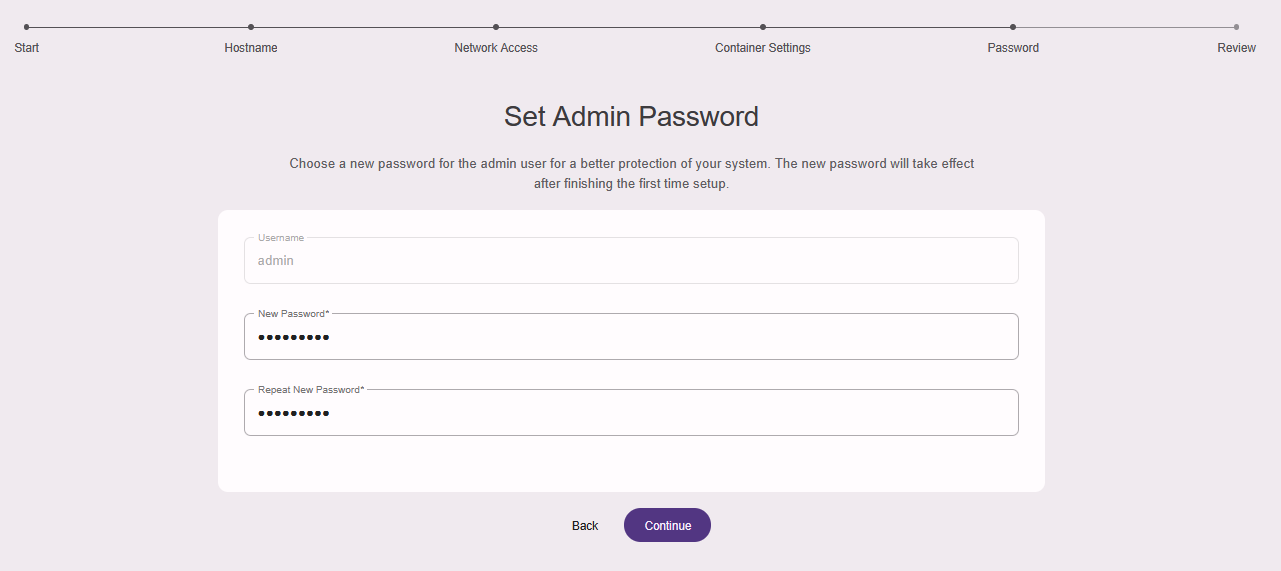
This password will be needed to log in to the Aero Management GUI with the user "admin" once the first-time setup has been completed.
Review
As the final step for the first-time wizard, you are asked to review the configuration, and confirm it if everything seems correct.
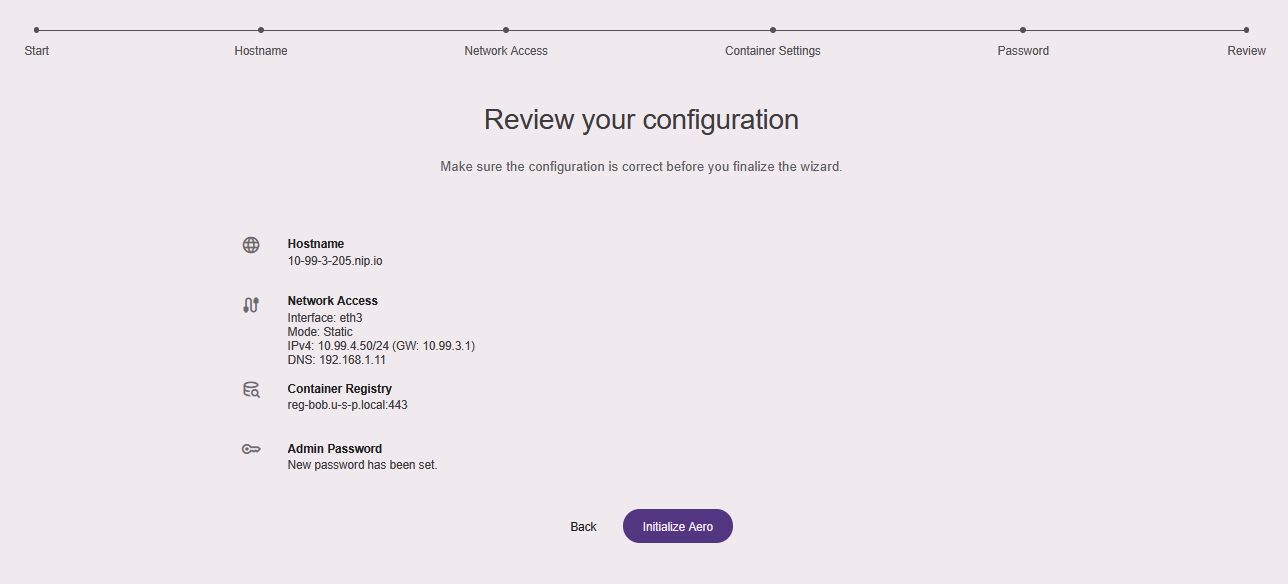
If so, confirm the settings by clicking the "Initialize Aero" button. The system will apply the configuration which can take up to a few minutes, and then reboot again. Afterwards, the Aero Management GUI will become available.